Image Contrast Editor - Increase Photo Contrast Online
Make a dull photo pop, a faded scan readable, or a harsh picture softer. Live preview, before and after view, many photos at once. Free, nothing is uploaded.
This image contrast editor makes the dark parts of a photo darker and the light parts lighter, right in your browser. Drop one picture or a whole batch. Tap a quick fix such as Auto fix or Faded photo, or move the Contrast slider yourself, then compare the result with the original before you download. The saved picture keeps its full size, and nothing is uploaded.
Low contrast is why a photo looks grey and flat. A cloudy day, a dirty phone lens, an old print that has yellowed and a scan made under a desk lamp all do the same thing. They squeeze the picture into a narrow band of middle greys. Raising the contrast spreads those greys back out, so blacks look black and whites look clean. Going the other way, lowering contrast tames a harsh midday photo with deep shadows.
How to change the contrast of an image
- Select Images or drop them on the page. You can also paste a screenshot with Ctrl+V. JPG, PNG, WebP and iPhone HEIC photos all open.
- Tap a quick fix to start from a good setting, then fine-tune with the Contrast, Brightness, Clarity and Saturation sliders. The preview updates as you drag. Double-click a slider's name to put it back to 0.
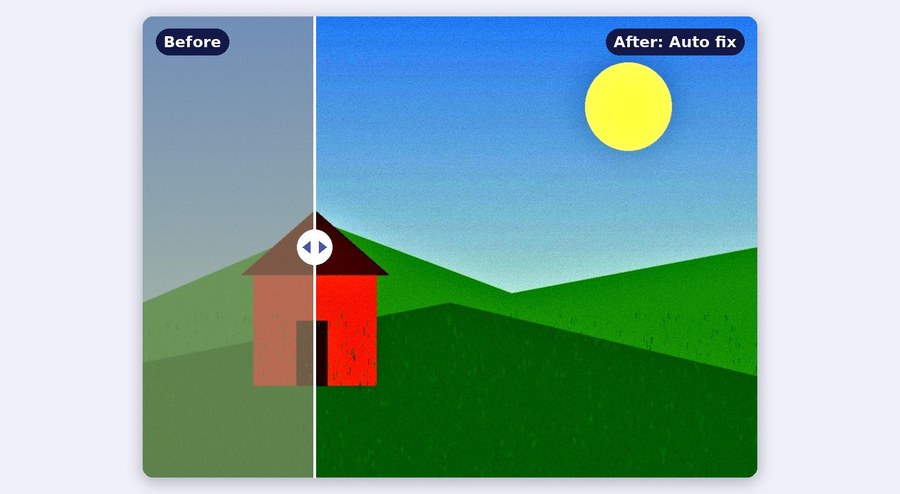
- Check it with Before / after. Drag the round handle across the picture: the original is on the left, your version on the right.
- Download image. With several pictures, the same settings go on every one and you get a single ZIP.
Which quick fix for which photo?
| Your picture | Start with | What it does |
|---|---|---|
| A normal photo that looks a bit flat | Auto fix | Stretches the tones, adds a little clarity and colour |
| An old print or a washed-out photo | Faded photo | Stronger stretch and contrast, and brings the colour back |
| A phone photo of a page, notes, a receipt or a form | Text & documents | Black and white with strong contrast and clarity, so the writing turns dark and the paper light |
| A photo taken indoors or at dusk | Dark photo | Lifts the brightness first, then adds contrast so it does not look grey |
| A harsh photo with deep shadows | Soft look | Lowers the contrast and calms the colours |
Every quick fix only moves the sliders, so you can see exactly what it changed and adjust from there. Reset takes everything back to the original. Our faded test photo had all its tones in a narrow band of just 53 grey levels. Auto fix spread them across 200 of the 256 levels a picture has.
Contrast, clarity and brightness: what each slider does
Contrast works on the whole picture at once. It pushes every tone away from the middle grey, so darks get darker and lights get lighter. Too much makes faces chalky and loses detail in the shadows. Brightness lifts or lowers everything by the same amount. That is the right fix for a photo that is simply too dark, but on its own it makes a picture look washed out.
Clarity is contrast in the small things. It compares each spot with the area around it and makes the difference bigger. Edges, hair, fabric and letters stand out, while the overall light stays the same. It is the slider that makes a photo look sharp without making it harsh, and the one that does most for faded text. Auto contrast looks at each picture separately and stretches it from its own darkest to its own lightest tone. In a batch, a dark photo and a bright one each get the stretch they need.
Make faded documents and phone scans readable
A page photographed with a phone usually comes out as grey writing on grey paper. Tap Text & documents. It switches to black and white, stretches the tones and adds strong clarity, so pencil and faded ink turn dark and the paper turns white. Push Clarity higher for very faint handwriting. If the paper turns grey and speckled, lower Contrast a little. We tried it on a photo of a note with grey writing on grey paper. The paper went from grey 168 to pure white 255, and the writing from grey 131 to solid black.
A clean, high-contrast page is also what text recognition needs. Run the result through JPG to text to copy the words out. If the scan is already a PDF, the PDF contrast editor does the same job on every page and keeps the text selectable.
Size, format and quality of the saved picture
The picture is saved at the same pixel size as the original, so a 4032 x 3024 phone photo comes back as 4032 x 3024. Same format as the original keeps a JPG a JPG, a PNG a PNG and a WebP a WebP. iPhone HEIC photos are saved as JPG, because most apps and websites cannot open HEIC. PNG keeps a transparent background transparent. JPG cannot hold transparency, so a transparent picture saved as JPG gets a white background. The Quality slider, 92% by default, sets how hard JPG and WebP files are squeezed: lower makes a smaller file. To bring a picture under a size limit afterwards, use reduce image size in KB.
The saved file does not copy the camera details and location stored in the original. On an iPhone or iPad, very large pictures above about 16 megapixels are saved slightly smaller, because Safari cannot work with bigger pictures. The tool shows the exact size it will save before you download.
Your photos never leave your device
Every picture is opened, adjusted and saved inside your browser tab. No copy goes to our server or anyone else's, so private photos, ID cards and documents stay on your phone or computer. That is also why there is no daily limit, no account and no watermark. A 24-megapixel photo took about 2 seconds to save on a laptop in our test, and a batch takes only as long as your own device needs. Close the tab and nothing is kept.
Frequently Asked Questions
Can I change the contrast of many images at once?
Yes. Select or drop up to 50 pictures. The same settings go on all of them, the thumbnails under the preview show each result, and Download gives you one ZIP. Auto contrast still works out each photo on its own.
Does raising the contrast lower the quality?
The size stays the same, and PNG is saved without any loss. JPG and WebP are saved again at the Quality you choose, 92% by default, which is hard to tell apart from the original. Very high contrast can lose detail in the brightest and darkest parts, so use Before / after to check.
How do I make faint text in a photo darker?
Tap Text & documents, then raise Clarity until the letters are solid. If the paper is not white enough, raise Brightness a little.
Can I reduce contrast instead?
Yes. Drag Contrast to the left, or tap Soft look. That softens hard shadows and bright highlights, and is handy for portraits taken in strong sun.